Over the past few years, I have had the pleasure of watching students look in amazement at 3D printing technology as they enter my class each fall. They say things like, “That’s SOOOO cool!” Others immediately start to ask questions, “How does it work? How much did it cost? How can I print something?” Within a few days, they are making their first 3D CAD models and submitting an STL to print. It feels magical to inspire and empower students and watch them grow their skill set as they innovate and create throughout the year.
Unfortunately, there are a lot of misconceptions about 3D printing that leave most teachers looking in from the outside. Afraid and weary, they hesitate to buy into this remarkable technology. Teachers assume it is very costly, really hard to set up and doesn’t really have a place in their class because they don’t do STEM. Teachers often comment about how they want to learn more about 3D printing, but the conversation ends there and they go on with their day, reluctant to take the first step because it will be too steep of a learning curve. In most cases, 3D printing seems way outside of their comfort zone, so it simply never happens. I am here to tell you that there is nothing to be afraid of and that now is a great time to take that first step.
Here are a few encouraging FYIs that might nudge you an inch closer to developing your first 3D printing project:
Cost: The cost is likely less than you imagine and you may not even need to purchase a 3D printer! That’s right, within my county, San Diego, there are a half dozen options at local libraries and universities (see links below) that offer 3D print services for free or at very low cost. There are also 3D printing labs that charge fees for prints, like Brother Robot, a 3D printing service started by a local child genius Calramon Mabalot who started the business at age 8! If you have a spare few hundred dollars or maybe you have a fundraising campaign in mind, you can pick up a pretty good 3D printer with filament (the plastic stuff it uses to make the prints) for under $400. If cost is your major hurdle, look for some grants or prop money, GoFundMe or DonorsChoose. I’ll bet you can make it happen without going out of pocket!
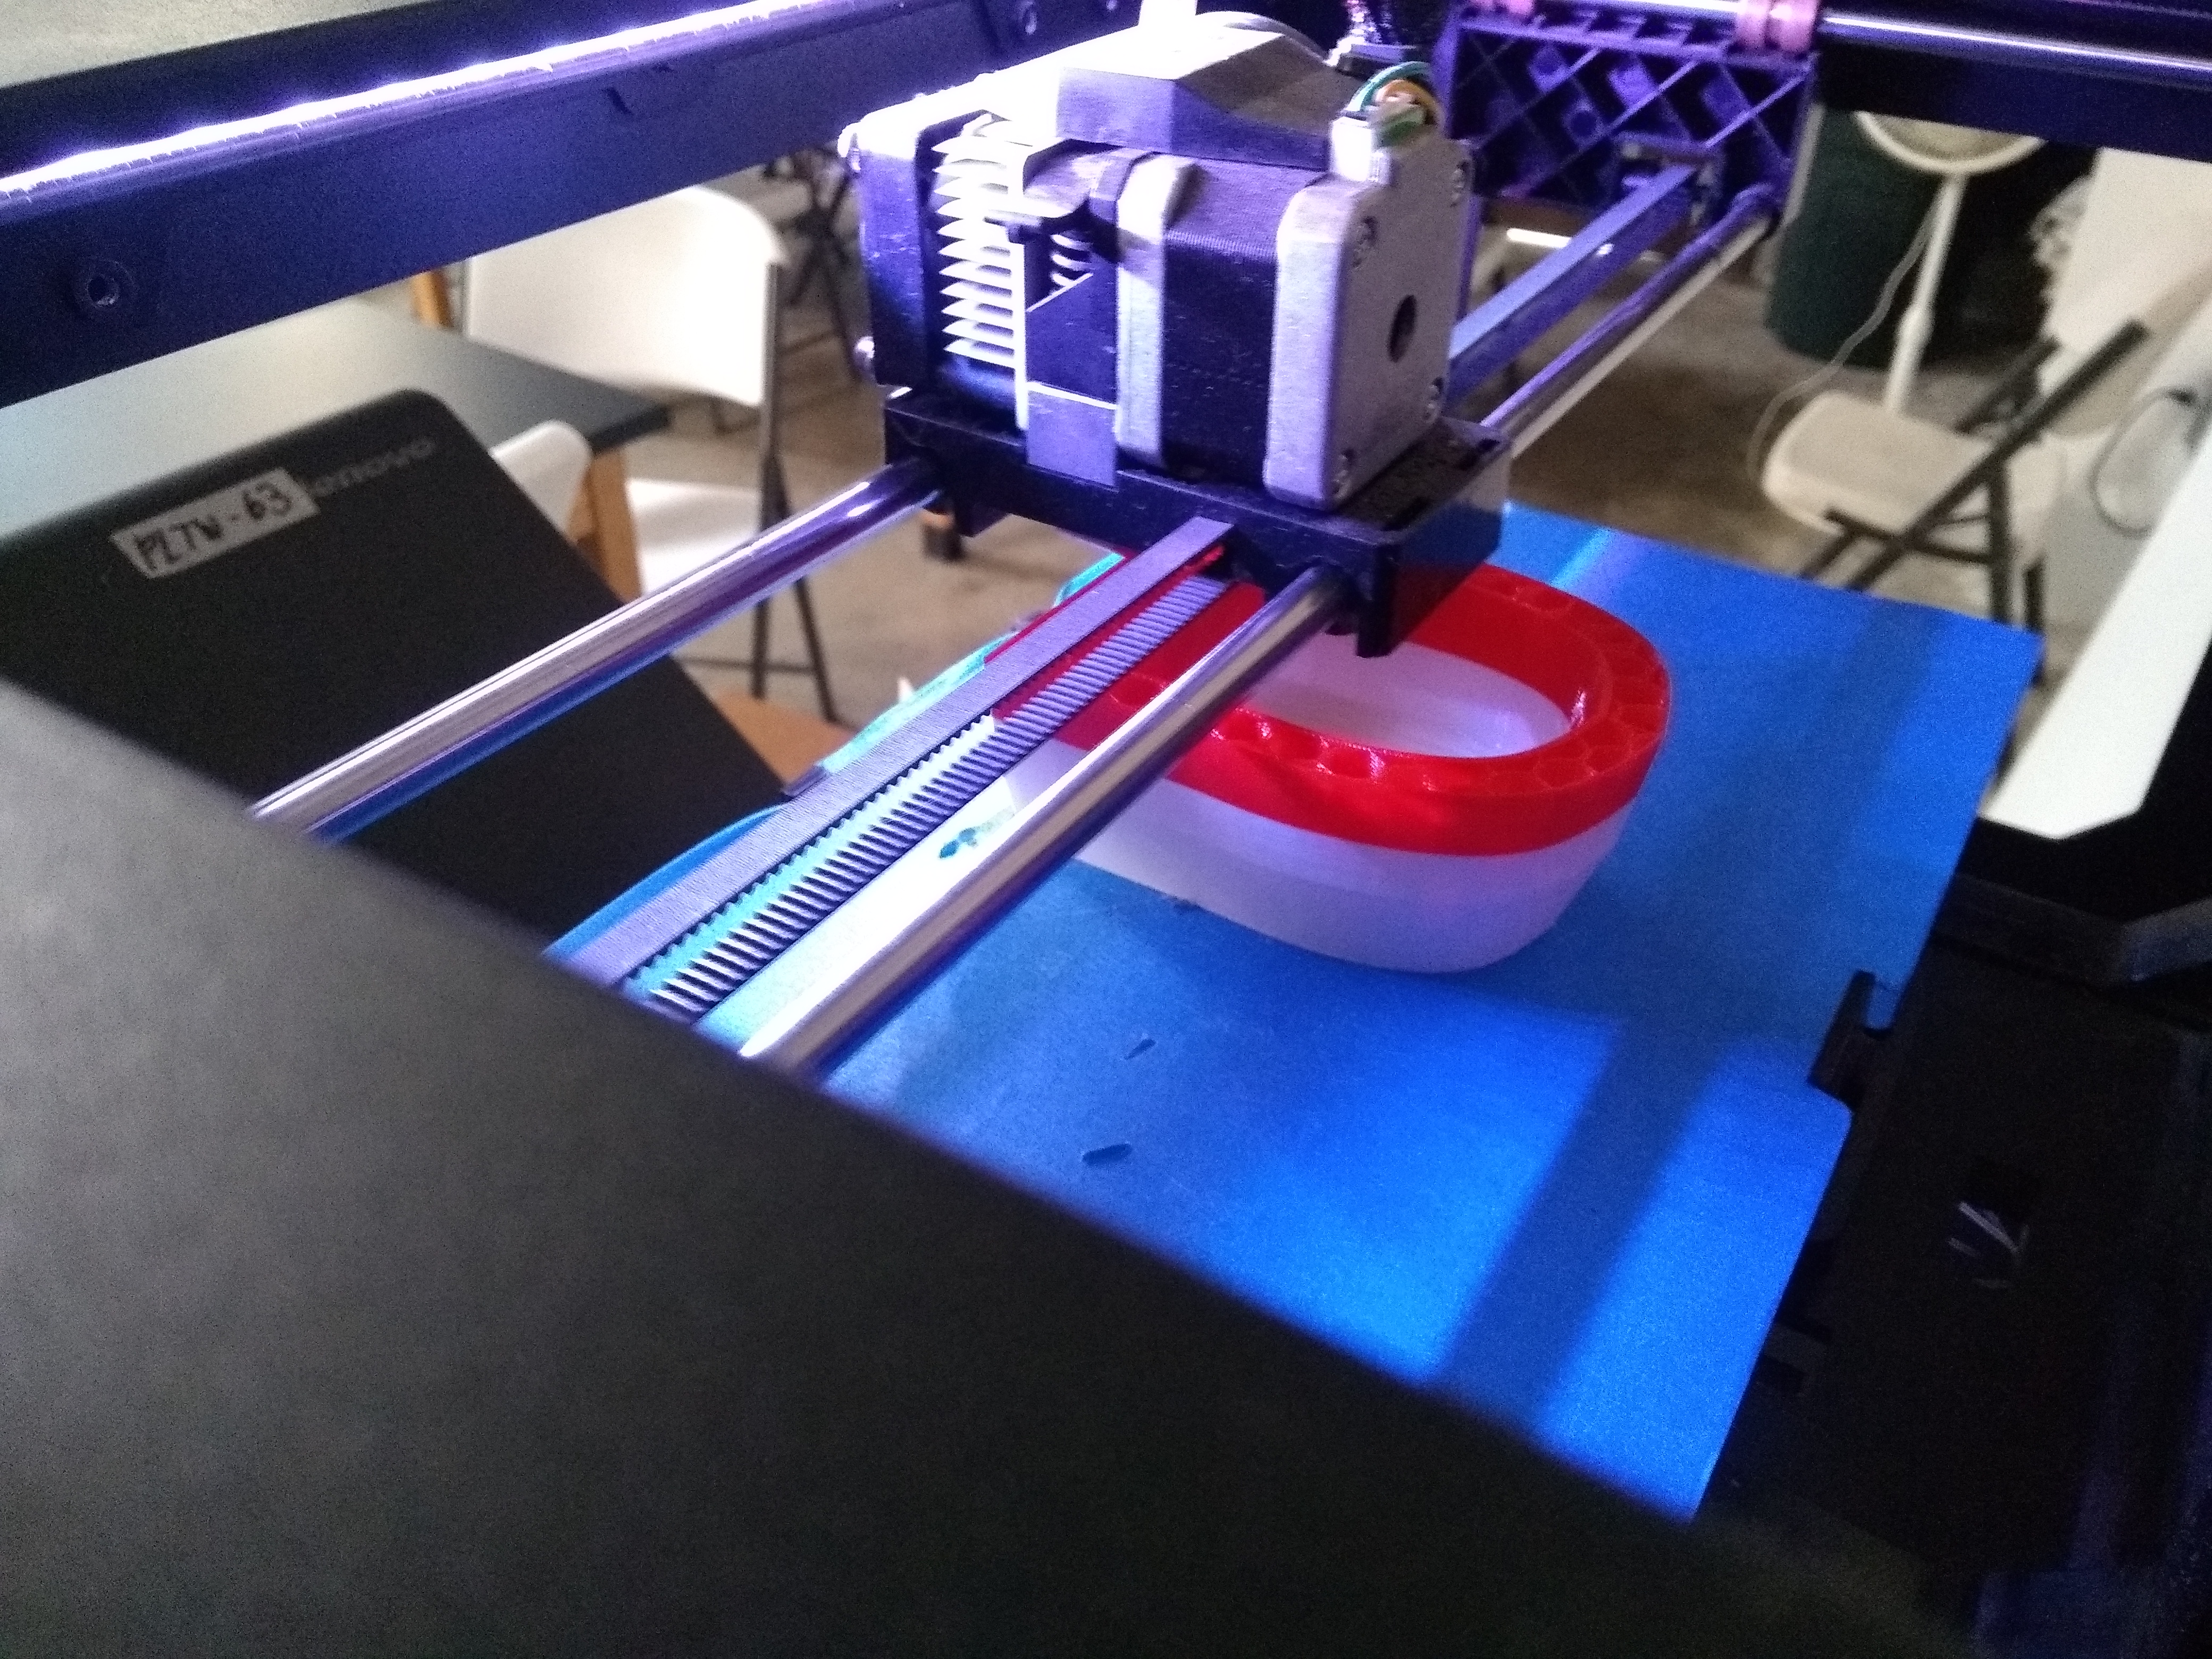
Difficulty: The hardware itself is a lot better than it was even just a few years ago when I picked up my Makerbot Replicator 2. With self-leveling heated build plates, more robust and much faster extruders, the technology is much more user friendly today and can be up and running a test print out of the box within few minutes. Beware of self assembly kits, they do require a bit more build time (a few hours), but will likely save you some money (I have yet to attempt any 3D printer assembly like this, so I would do some research and make sure there is video support. Definitely worth considering if on a budget). There is actually very little need for maintenance. I have ran into a couple of scenarios where the extruder jammed and I had to take it apart, but there are only a handful of screws, so it was much easier than anticipated. Otherwise, you just need to lubricate the moving rails and threads when they get squeaky a couple of times a year.
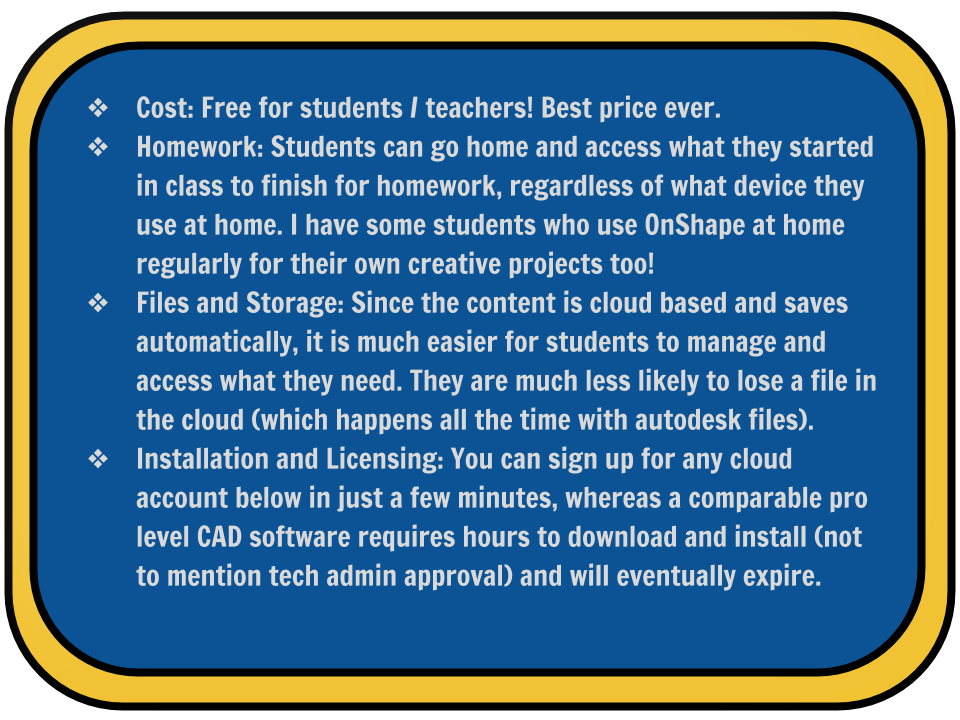
CAD 3D Tools: Initially, I had labeled this section ‘Software,’ but you don’t even necessarily need it, as there are cloud/browser based options that can generate amazing CAD models and set up your 3D prints. Years ago, I spent a lot of time trying to figure out which 3D modeling software was best. Autodesk seemed to offer the best pro level products, but now, there a few cloud based options that are likely a better fit for students, especially if you are working with younger ages in middle school or possibly elementary. Here are a few reasons to embrace cloud CAD options before installing any software:
Cloud Options:
Onshape has been a game changer in my middle school STEM classes. We often refer to it as the Google Docs of CAD! I have never come across a cloud based product that is so robust. Yes, it allows for collaborative sharing of content in real time and offers a library of free available public documents (3D part files for remixing or inspiration). What’s more, is that they partner up with other cloud CAD options like OneRender and ONU (see my tutorial links on this slide form the SDSU Learning Design Technology Symposium), which you can enable as add-ons. These options continue to expand what you can do with your models, and you never leave the browser (perfect for chromebooks)!
TinkerCAD is a super easy option and likely the best place to start if you feel intimidated by a standard CAD environment, which is understandable, as they are not so intuitive. This is easy enough for elementary students to learn and can work all the way up through the college level for beginner and intermediate 3D needs. Also, check out 3D circuits while you are in there, really cool electrical prototyping and engineering simulation tool!
SketchUp has a pretty simple user friendly interface and works really well for larger scale projects like architecture. However, it can work just as well as a 3D printing option, although I tend to prefer the other options personally. Nonetheless, a practical option to consider, especially if you are already familiar with it.
Software Options:
Autodesk Inventor: If you are a PLTW teacher, this is their subscribed CAD platform for the Intro to Engineering and Design course (along with many others). A very powerful program that offers presentation video assembly, photo-realistic rendering and a vast library of add-ons that communicate and export to other Autodesk programs like Revit. This is a less intuitive option and requires some scheduling with your tech department to get it up and running on your devices (only runs on a PC). I use this with my high school students who come in to my engineering course with CAD experience. This will give students a marketable skill set right out of high school and they can even get Autodesk Certification to leverage their way into internships or even a career.
Fusion 360: Software program that allows users to combine the easy functionality of an intuitive program with professional level capabilities.
Blender: A free, open source option that is becoming increasingly popular among students and 3D printing enthusiasts. Not as complex as Inventor, but offers some of the same features. A practical option worth investing in for most intermediate users who are not ready to jump into Inventor just yet.
Once you have your CAD options dialed in, you can use youtube to grow your skill set. I have learned more from youtube over the years about CAD than I did in the 2 weeks of training I took to get certified for the high school Introduction to Engineering Design class I am teaching. Feel free to drop me a line on twitter (@KevinWhiteSD) if you ever get stuck. I am not a CAD wizard, but I have learned how to do some magical things.
How to teach CAD?
Once you know the basics, you can pass on your knowledge to your students. I prefer to create screencast videos and let the students work at their own pace to develop foundational skills, helping as needed. There are also thousands of videos on youtube and each CAD option out there has a youtube channel at your disposal. (Here are links to some OnShape and Inventor tutorials I have made.) In some cases, with smaller classes, you can walk them through step by step, but this takes a lot of class time and you start to feel like a pinball running around to students repeating yourself and showing them where to click. Youtube and screencasting have mitigated that and I now see students executing skills much faster than they would if they were to try to follow along to a projection and direct instruction broken down into steps. Avoid massive text based document instructions with screenshots, it becomes cumbersome and overwhelming, especially for younger students. If you insist on writing out the steps with screenshots, you can break it down into chunks in a slides presentation and add in embedded video tutorials as needed.
What kinds of projects can students do?
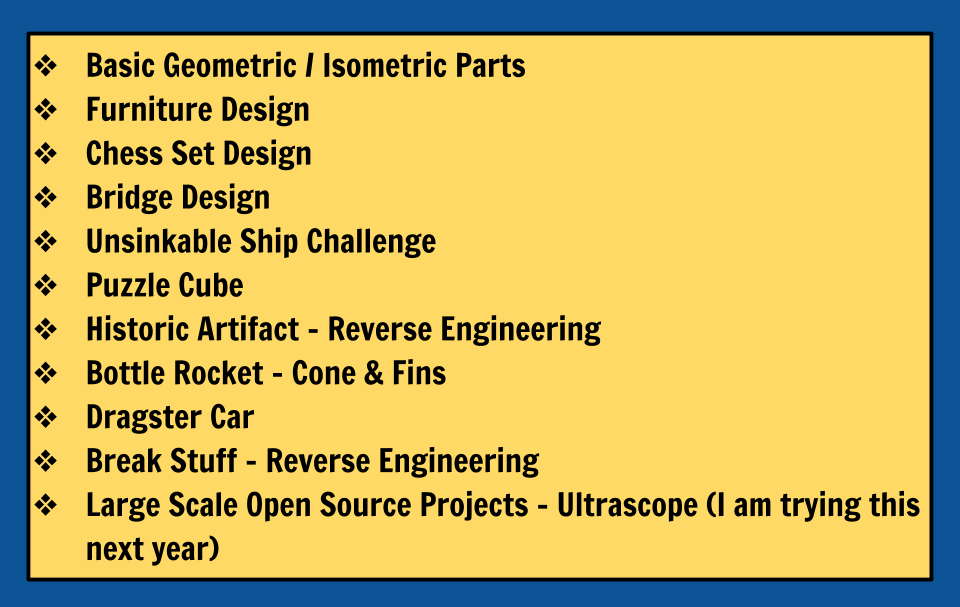
Here are just a handful of the projects that I have had students develop over the years that 3D print well. In order from least challenging to most challenging.
How do you manage requests for prints?
Managing 3D prints can be difficult. I prefer to have students export their STL files and upload to Makerbot Desktop Software (or whatever platform you are using for your 3D printer). Then they load that file to a shared Google Drive folder. They could also submit a link from their google drive into Google Classroom or a Google Form. I am 3D printing student files all day most days it seems. Make sure to establish some rules and to allot a specific amount of either filament in grams (can be calculated in Print Preview) or print time in minutes to each student and then calculate that in a sheet. This way you are being fair and can manage how much filament you use. I go through 3-4 spools a year, but I have very small class sizes (12-20). You may want to choose 1 project a semester to print for the whole class, then point interested students who want additional prints to your local library or university where they can print for free or at least pretty cheap in most cases if you get inundated with requests.
Once you see the amazing potential of 3D printing in your classroom, you can really start to unlock the creative potential of your students, and often times, it is not the same students you would expect. I have watched Special Education students, low achieving / at risk students and even younger siblings of my students take up an interest in 3D CAD and printing as they soar above my expectations. The world of 3D is finally at our fingertips, and its is merely a few clicks away in most cases… what’s holding you back, HONESTLY!
Local San Diego 3D Printing Options